This is one article of an ongoing series of posts on a frame building course I took through master builder Doug Fattic. To see the whole series, click here.
 |
| Here are all the raw elements of the fork: Tapered and ovalized blades, crown, steerer, and dropouts |
We build the forks first because the steel on them is thick, which makes it easier for neophytes like me to braze without worrying too much about over-heating. In the last post I showed how we connected the steerer tube to the fork crown, the two heaviest parts single parts of the frame, next we worked on some slightly more delicate fork parts.
 |
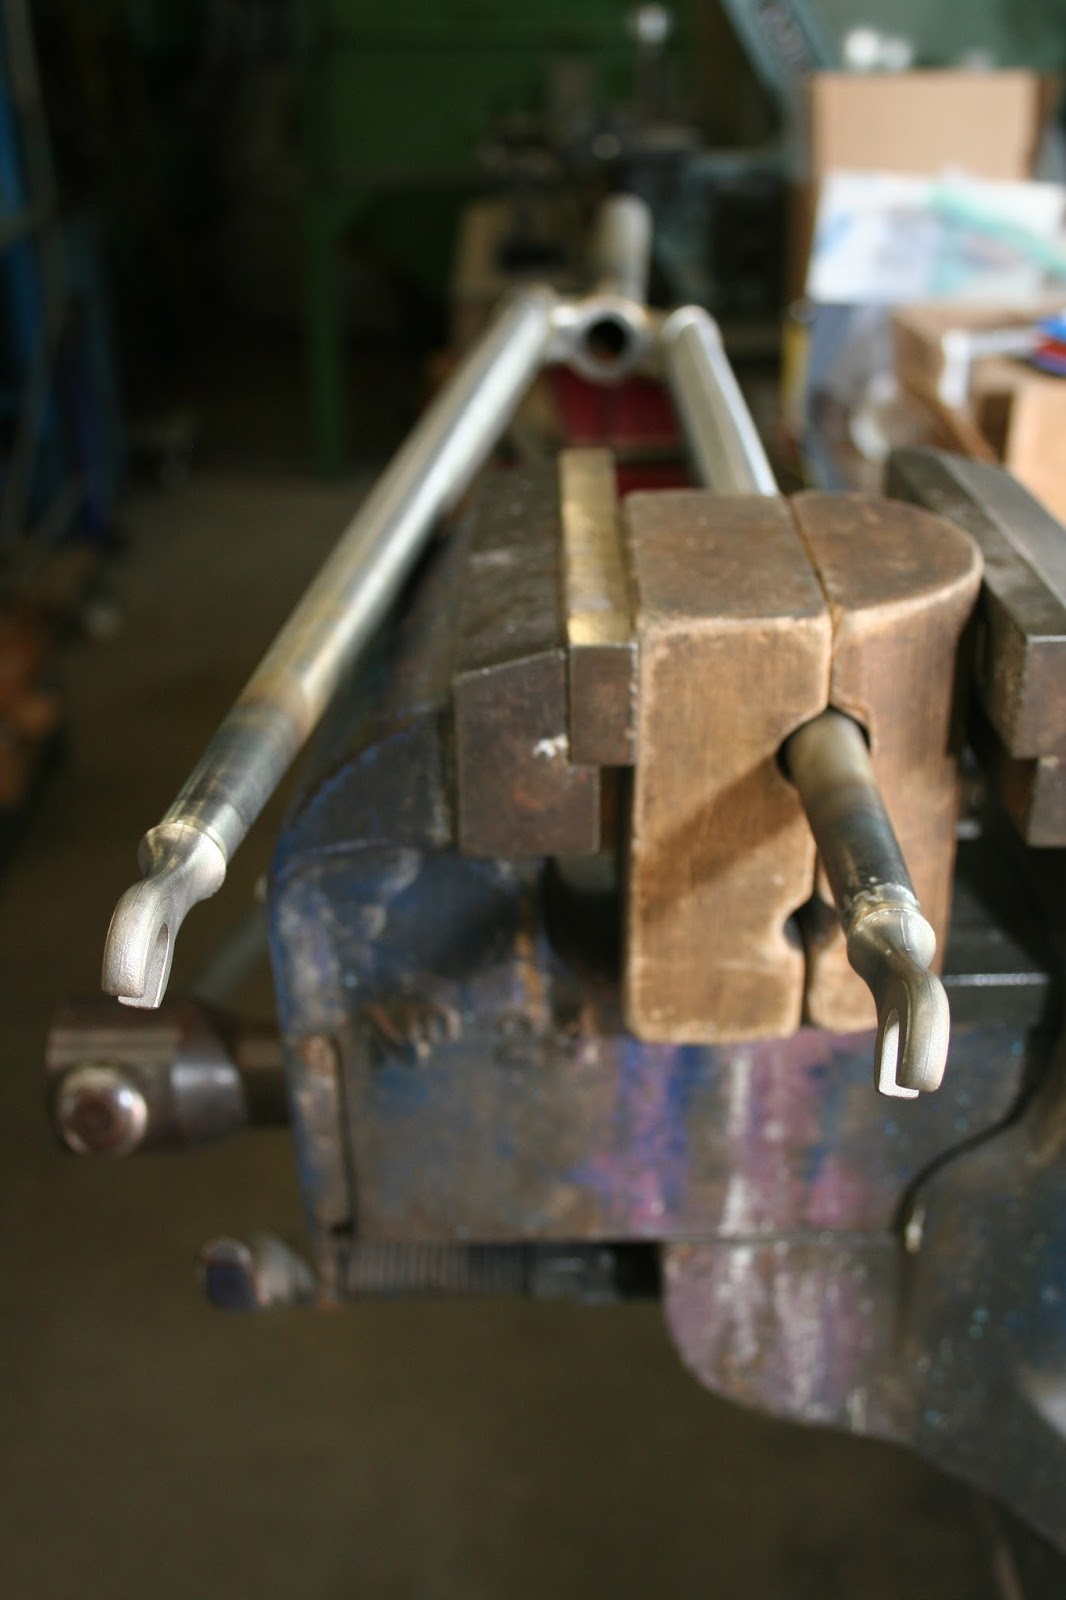
| These raw dropouts have to be sanded down so that they fit into the tapered fork blades. I also used a Swiss file to remove casting marks and other imperfections. |
 |
| Here you see the that the end of the fork blade is discolored, that's because I sanded the outside and inside down so that the silver would adhere better. The trick to getting the silver braze into the blade is to make a circle and place it on top of the dropout, just wide enough to fit inside the fork blade. Then, heat the blade and dropout evenly so that the silver melts, then falls into the crease between the blade and dropout. It'll work its way around through capillary action. You know you're done when you see silver coming out the bottom. |
 |
| I neglected to get a good picture of me brazing the dropouts, but here's what it looks like in the fixture, immediately after brazing, with the flux still hot. Above you can see the shot of my fellow student brazing his dropouts. |
 |
| With both dropouts brazed, we fit the fork blades into the crown to see how they fit. |
 |
| knowing that the blades will fit nicely into the fork crown, I filed the dropouts so that they have a smooth transition to the fork blade. The upper dropout is raw and has a bit of a shelf. The lower blade has been filed and has a nice, smooth transition so that it looks like the blade and dropout were forged together. |
 |
| See? |
 |
| This isn't a great shot, but this is the fork bending device. It's basically just a huge lever with an ovalized aluminum block that you set the fork blade on. Herbie and I both had to put our full weights on the lever to get the fork blade to bend. |
 |
| With the fork blades bent, we fitted them into a fork jig and measured from the center of the dropouts to the center of the brake bolt hole. We know that the hub center to the rim center of a 700c wheel is 311mm, and the brake has a reach of 48mm, so to get the maximum tire clearance with my current design, I'll need 359mm. The blades were 440mm long before bending, so afterwards I had to do a little cutting to get it all to fit. |
 |
| This is the best way to get a perfect guide line: mark a patch with black marker, then use a surface gauge to scratch a line at the exact spot you want to cut. It's always straight and very accurate, assuming your table is flat. |
 |
| Finally, I flux-up the ends of the fork (after cleaning with emory cloth, of course) and stick it in the fork crown to be brazed. |
 |
| Here's my fellow student brazing his fork blades. He had a cool pen gadget to help feed in the silver. |
 |
Here' s my fork after brazing and cleaning. To avoid shorelines, I started by warming the general area, then applied a big glob of silver to the valley between the fork crown points. Then, using capillary action, I drew the silver up the points using heat. After I was sure there was plenty of silver penetration, I concentrated my torch on the top peak and slowly drew the extra silver down in a wave. When I got to the bottom of the valley I held there for a second and let the silver drip though to the inside of the fork. There's probably a small fortune of silver in the inner-crown of my fork, invisible to anyone.
As you can see, there's no hole for the brake. I put one in using the drill press, and on the backside I made a counter-sink hole for the brake retaining bolt to fit cleanly inside the crown. |
 |
| Here's the complete fork, before sand-blasting. |
 |
| Here's what brazing the fork blades would have looked like. |
 |
| After the fork is assembled and cooled down, I cut the crown race to 27.5 with a steerer cutter tool, then used my Swiss file to make the fork crown look sharp, and get rid of any lingering imperfections. |


I am truly impressed by the details which you have provided. It is an interesting article for me as well as for others. Thanks for sharing such articles here. Ecko Tools
ReplyDeleteI was looking for excellent powder coating equipment to help me complete my job quickly. But thanks to your blog article, I've found the perfect answer for this. Thank you very much for giving us such beautiful items.
ReplyDelete